Installing & Using Drupal Drush on Debian 7
Traducciones al EspañolEstamos traduciendo nuestros guías y tutoriales al Español. Es posible que usted esté viendo una traducción generada automáticamente. Estamos trabajando con traductores profesionales para verificar las traducciones de nuestro sitio web. Este proyecto es un trabajo en curso.
DeprecatedThis guide has been deprecated and is no longer being maintained.
Please refer to the updated version of this guide.
Drush is a command line tool for creating, maintaining, and modifying Drupal websites. Command line tools, like Drush, add functionality through additional command packages. Once installed, Drush is as easy to use as any of the basic Linux commands. Drush rhymes with rush or crush. The name comes from combining the words Drupal and shell. Drush is designed only for Drupal and cannot be used with other content management systems.
Both new and experienced Drupal users can benefit from learning Drush. Users that have worked with a command line interface before have an advantage, but Drush is an excellent application for beginners, too.
Prerequisites
Before installing Drush and Drupal, ensure that the following prerequisites have been met:
Create a new Linode by following our Getting Started guide.
Address security concerns with the Securing Your Server guide.
Configure a LAMP stack using the Hosting a Website guide.
Make sure that your system is up to date, using:
sudo apt-get update && sudo apt-get upgrade
NoteThis guide is written for a non-root user. Commands that require elevated privileges are prefixed withsudo. If you’re not familiar with thesudocommand, you can check our Users and Groups guide.
Install Git & Composer
The developers of Drush recommend installation through Composer, a PHP dependency manager. The Drush project is hosted on GitHub and controlled with Git, another necessary app to install.
Install Git:
sudo apt-get install gitInstall Composer:
curl -sS https://getcomposer.org/installer | phpMove the composer.phar file to
/usr/local/bin/, so that it can be accessed from any directory:sudo mv composer.phar /usr/local/bin/composer
Install Drush for All Users on the Server
Composer is designed to install PHP dependencies on a per-project basis, but the steps below will install a global Drush for all projects.
Create a symbolic link between Composer’s local bin directory,
/usr/local/bin/composer, and the system’s bin directory,/usr/bin/:sudo ln -s /usr/local/bin/composer /usr/bin/composerUse Git to download - or clone - the GitHub Drush project into a new directory:
sudo git clone https://github.com/drush-ops/drush.git /usr/local/src/drushChange the working directory to the new Drush directory:
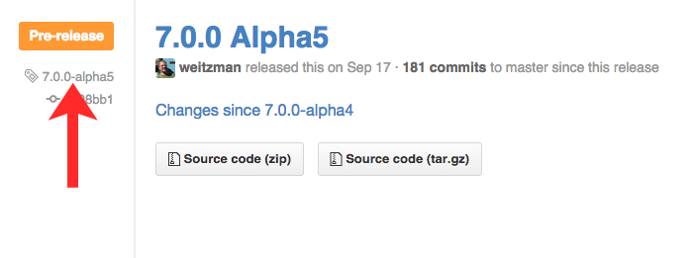
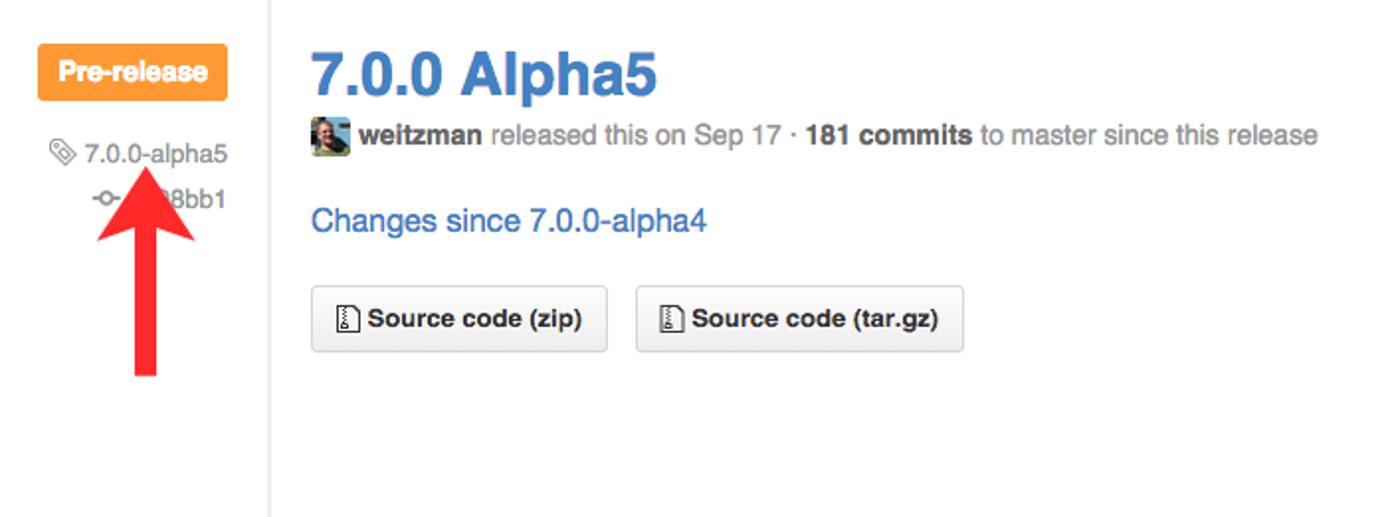
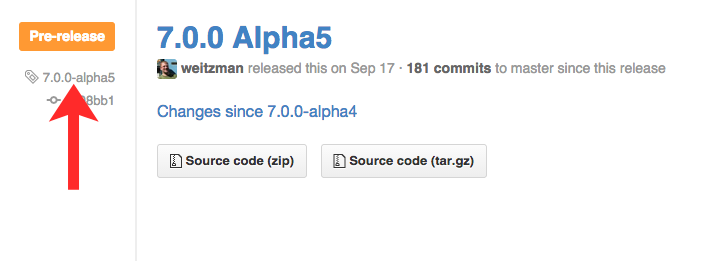
cd /usr/local/src/drushUse Git to checkout the version of Drush that you wish to use. The release page is at https://github.com/drush-ops/drush/releases. Below is a partial image of the release page with a red pointer displaying a sample version number.
For a different release, replace the version number in the following command:
sudo git checkout 7.0.0-alpha5Create a symbolic link between the Drush directory in
/usr/local/srcto/usr/bin, so that the Drush command can be called from any directory:sudo ln -s /usr/local/src/drush/drush /usr/bin/drushNow, run the Composer install command:
sudo composer installDrush has now been installed for all users on the server. Check for the proper version number:
drush --version
Using Drush
Drush has dozens of commands with hundreds of options. Drush can interface with MySQL, Drupal, Git, and more. To demonstrate using Drush, we will create a Drupal website along with a few other helpful commands.
To get started with Drush, run it without any following commands to list the help manual:
drushView more detailed documentation for a specific command by typing
drush helpand then the command, for example:drush help site-installList many of the specs for your server and website with:
drush status
Create a Drupal Website with Drush
Drush can create a Drupal site with half the steps of a normal installation. The drush dl drupal command conveniently chooses the latest, stable installation of Drupal.
Install the required PHP graphics library:
sudo apt-get install php5-gdNote
If the install process displays a prompt concerning a modified configuration file, choose the “keep the local version currently installed” option.Check that the Apache2 rewrite module is enabled:
sudo a2enmod rewriteReload the Apache server software:
sudo service apache2 reloadChange the working directory to the location of the new website. The previous guides created a /var/www/
example.com/public_html directory, replacingexample.com, and madepublic_htmlthe document root or the publicly viewable directory.cd /var/www/example.com/public_htmlDownload Drupal to a folder named drupal:
sudo drush dl drupal --drupal-project-rename=drupalNote
You can specify versions of Drupal. For example to install Drupal 8, which is in beta at the time of this publication, usedrush dl drupal-8.Change the working directory to the new ‘drupal’ folder:
cd drupalNow the server is ready for the installation of a Drupal site. Below, provide a MySQL username, password, and database in the mysql://
username:password@localhost/databasenamelink option and the site’s name in the –site-name=example.comoption:sudo drush si standard --db-url=mysql://username:password@localhost/databasename --site-name=example.comNote
Although MySQL accepts passwords with a special character, for example an exclamation point, thedrush si standardcommand does not. If you have a special character in your MySQL password, you may need to change it.After installation is complete, Drush creates a user, named
admin, and a random password. An example is pictured below. These credentials are used for the Drupal sign-in page.Optionally, if you’d like to change the admin’s password, we recommend you do so with Drush, rather than sending the password over a non-secure HTTP connection. In the following command, replace
newpasswith your new password:sudo drush user-password admin --password=newpass
Setting the Site’s Ownership and Permissions
In server administration, there are many options for user and group permissions. The directions below create a site owner and a site owner’s group. The Apache user, named www-data, is added to the site owner’s group. Then read, write, and execute permissions are granted to both the site owner and the site owner’s group.
To create a new user for the site owner position, review the Securing Your Server guide.
From the
drupaldirectory, change ownership of the site to the chosen owner and that owner’s group. Replaceexampleuserbelow with the chosen owner’s username:sudo chown -R exampleuser:exampleuser .Add Apache’s www-data user to the site owner’s group:
sudo usermod -a -G exampleuser www-dataRestart Apache:
sudo service apache2 restartMake sure the permissions are set to allow access for the site owner and site owner’s group:
sudo chmod -R 770 .Now, www-data, exampleuser, and any user within the exampleuser group has read, write, and execute permissions for the entire Drupal site directory tree.
Finally, check the status of the new site:
drush statusCaution
File permissions are a constant concern for the system owner or root user. When installing new files, like a module or theme, make sure the Apache user www-data has access rights. Use the commandls -alto list the file permissions within a directory.
Your site is now available at example.com/drupal or ipaddress/drupal. Sign-in with the generated username and password and start delivering content to the world!
When you’re ready for the Drupal site to appear as your homepage, move the site to the /var/www/example.com/ directory and double-check the document root listing in the virtual host file. See Step 5 in the
Configuring Name Based Virtual Hosts section of our Hosting a Website guide.
Additional Options
There are many ways to set up administration for a website. Below are sections explaining some additional options. It’s important to be aware of multi-site setups and additional security measures. The topics below touch on these subjects.
File Ownership, Permissions, and Security
The above setup is designed for ease of use. However, there are setups designed for tighter security and other considerations.
- To design your own setup, read Linode’s documentation on Linux Users and Groups guide
- For an extremely secure setup, read Drupal’s Securing File Permissions and Ownership guide
Multi-site Servers
To start, add a virtual host file with Apache. Next, build another site including the appropriate MySQL, PHP, and CMS configurations.
- To add a virtual host file, read Linode’s Configure Name-based Virtual Hosts guide
Install Drush for the Active User Only
You may want to install Drush for only certain users, for example, the site owner, root, and www-data. This may be optimal for a shared-hosting environment. Also, individual users can install their different versions of Drush and even install versions specific to a single project. The commands below should be run as the user in question, without sudo.
Modify the user’s
.bashrcfile to add the composer directory to it’s path:nano ~/.bashrc- File: ~/.bashrc
1export PATH="$HOME/.composer/vendor/bin:$PATH"
Run source on
.bashrcto enable the changes:source ~/.bashrcInstall Drush:
composer global require drush/drush:dev-masterNote
To install a different version of Drush, replacedrush/drush:dev-masterwith another version. For example, to install the stable release of Drush 6.x, usedrush/drush:6.*. For more information, check out the Drush GitHub repository.Check to see that Drush was installed successfully:
drush --version
More Information
You may wish to consult the following resources for additional information on this topic. While these are provided in the hope that they will be useful, please note that we cannot vouch for the accuracy or timeliness of externally hosted materials.
This page was originally published on


