Installing McMyAdmin for Minecraft on Debian
McMyAdmin is one of the most popular Minecraft server control panels available. It boasts compatibility with third party mods, heavy focus on security and a sleek web interface for managing your server. This guide covers the installation and configuration of a new McMyAdmin server on a Linode running Debian 9. Be aware that to actually play on a Minecraft server you must also have the game client from minecraft.net.
Before You Begin
Familiarize yourself with our Getting Started guide and complete the steps for setting your Linode’s hostname and timezone.
Mono is an open source implementation of the .NET framework. CubeCoders Limited, the company behind McMyAdmin, packages its own minimal installation of Mono with some necessary source and configuration files. This must be used instead of the generic Mono packages from Debian’s repositories.
 cd /usr/local
 apt-get install unzip
 wget http://mcmyadmin.com/Downloads/etc.zip
 unzip etc.zip; sudo rm etc.zip
This guide will use
sudowherever possible. Complete the sections of our Securing Your Server guide to create a standard user account, harden SSH access and remove unnecessary network services. Do not follow the Configure a Firewall section yet–this guide includes firewall rules specifically for a Minecraft server.Update your system.
sudo apt-get update && sudo apt-get upgrade
Configure iptables
Create the files
/tmp/v4and/tmp/v6. Paste the following rulesets into the respective files.IPv4
- File: /tmp/v4
 1
 2
 3
 4
 5
 6
 7
 8
 9
10
11
12
13
14
15
16
17
18
19
20
21
22
23
24
25
26
27
28
29
30
31
*filter # Allow all loopback (lo0) traffic and reject traffic # to localhost that does not originate from lo0. -A INPUT -i lo -j ACCEPT -A INPUT ! -i lo -s 127.0.0.0/8 -j REJECT # Allow ping. -A INPUT -p icmp -m state --state NEW --icmp-type 8 -j ACCEPT # Allow SSH connections. -A INPUT -p tcp -m state --state NEW --dport 22 -j ACCEPT # Allow connections from other Minecraft players. -A INPUT -p tcp -m state --state NEW --dport 25565 -j ACCEPT # Allow web access to McMyAdmin. -A INPUT -p tcp -m state --state NEW --dport 8080 -j ACCEPT # Allow inbound traffic from established connections. # This includes ICMP error returns. -A INPUT -m state --state ESTABLISHED,RELATED -j ACCEPT # Log what was incoming but denied (optional but useful). -A INPUT -m limit --limit 3/min -j LOG --log-prefix "iptables_INPUT_denied: " --log-level 7 # Reject all other inbound. -A INPUT -j REJECT -A FORWARD -j REJECT COMMIT
IPv6
By default, both McMyAdmin and Minecraft operate on IPv4, but unlike a default Minecraft server installation, McMyAdmin does not listen for incoming IPv6 traffic. Since Minecraft can not use both protocols simultaneously, IPv4 is usually chosen over IPv6 because of its much greater availability, thus including players whose ISPs or hardware don’t support IPv6.
If you choose not to use IPv6 on your Minecraft server, then it needs only basic IPv6 firewall rules.
- File: /tmp/v6
 1
 2
 3
 4
 5
 6
 7
 8
 9
10
11
12
13
14
15
16
17
18
*filter # Allow all loopback (lo0) traffic and reject traffic # to localhost that does not originate from lo0. -A INPUT -i lo -j ACCEPT -A INPUT ! -i lo -s ::1/128 -j REJECT # Allow ICMP -A INPUT -p icmpv6 -j ACCEPT # Allow inbound traffic from established connections. -A INPUT -m state --state ESTABLISHED -j ACCEPT # Reject all other inbound. -A INPUT -j REJECT -A FORWARD -j REJECT COMMIT
Import the rulesets into immediate use:
 sudo iptables-restore < /tmp/v4
 sudo ip6tables-restore < /tmp/v6
View the rules that you set:
 sudo iptables -L -nv
 sudo ip6tables -L -nv
To apply your iptables rules automatically on boot, see our section on configuring iptables-persistent.
Install Prerequisite Software
Install the Java Runtime Environment, OpenJDK:
sudo apt-get install openjdk-8-jre
Install and Start McMyAdmin
This section should be completed as your standard user, not as root. McMyAdmin will then install to /home/username.
Create the installation directory and change location to it.
sudo mkdir ~/McMyAdmin && cd ~/McMyAdminDownload the McMyAdmin installer. You will want to double check its Download page to be sure you’re grabbing the latest version.
sudo wget http://mcmyadmin.com/Downloads/MCMA2_glibc26_2.zipExtract the archive and delete the original zip file.
sudo unzip MCMA2_glibc26_2.zip
sudo rm MCMA2_glibc26_2.zip
Start the initial configuration of McMyAdmin. Replace
PASSWORDwith a strong password which you want for admin access to McMyAdmin’s web interface../MCMA2_Linux_x86_64 -setpass PASSWORD -configonlyThis will return the output:
The updater will download and install McMyAdmin to the current directory:
/home/your_user/McMyAdmin).

Continue? [y/n] :
Answer
y. The installer will run and return you to the command prompt. If everything is as it should be, the only warning you’ll see will be for a missing configuration file. As the output says, that would be normal since McMyAdmin was just started for the first time.Change into the McMyAdmin installation directory and start the program.
cd ~/McMyAdmin; ./MCMA2_Linux_x86_64If successful, the last three lines of the output will be:
 Notice	: McMyAdmin has started and is ready for use.
 Notice	: This is the first time McMyAdmin has been started.
 Notice	: You must complete the first-start wizard via the web interface.
Note
To exit McMyAdmin and return to the command line, enter/quit.
Managing your Minecraft Server
Browse to the McMyAdmin web interface by visiting
http://YourLinodeIP:8080.Log in with the username
adminand the password that you provided in the installation step.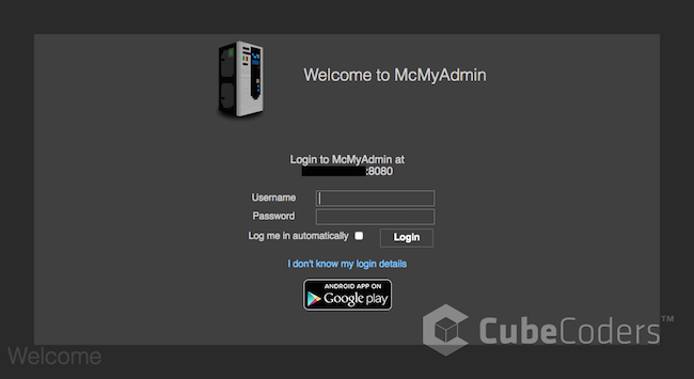
Once the initial configuration steps are completed, select your settings and then switch to the status page.
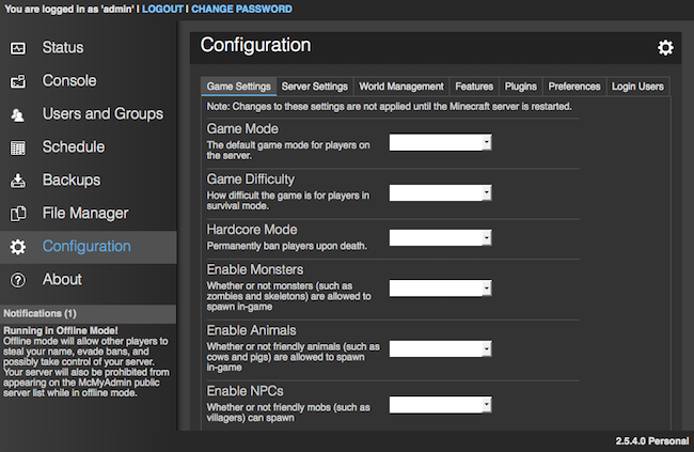
Select Start Server and accept the Minecraft Server EULA (End User Licensing Agreement).
Note
If you are not prompted to accept the EULA in McMyAdmin, you can find the EULA at~/McMyAdmin/Minecraft/eula.txt. Change the value ofeula=falsetoeula=true.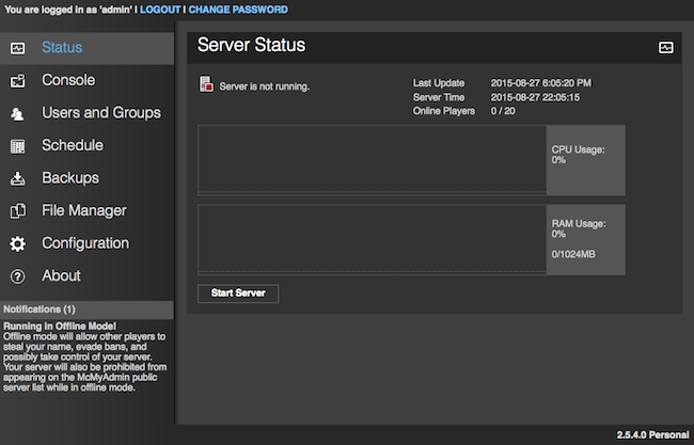
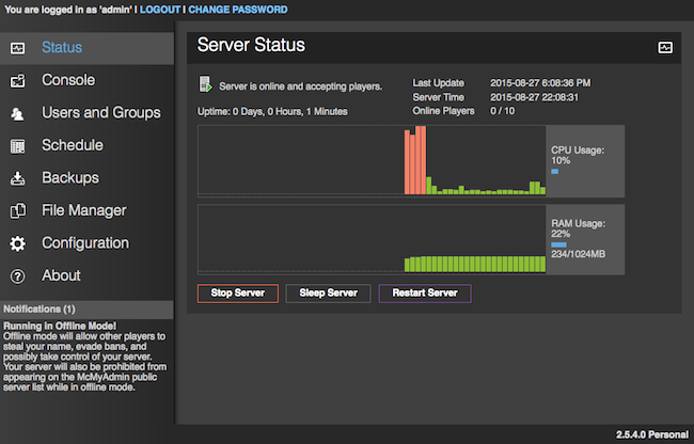
Congratulations, you now have McMyAdmin running on your Minecraft server!
More Information
You may wish to consult the following resources for additional information on this topic. While these are provided in the hope that they will be useful, please note that we cannot vouch for the accuracy or timeliness of externally hosted materials.
This page was originally published on


